Overview
In this blog, we will cover
- What is Session Replication?
- How to configure Session replication into multiple Server running in a Cluster.
Session Replication
- When it comes to the high availability of Application, we generally run our server as a Cluster of multiple servers running using Load Balancer.
- But what if I am logged in to one of the servers and the server goes down for some reason.
- We do have other servers in a cluster and any further request will be directed to them but I might need to log in again or do the authentication process again as Session is lost.
- To avoid this we use Session Replication where all session details are copied to all servers in Cluster.
- So User can continue without knowing what happened in the background.
Setup
We will assume there are 2 Apache server available and are load balanced by Nginx.
Here is how to configure load balancer using Nginx.
Changes in Tomcat
- Uncomment <Cluster className=”org.apache.catalina.ha.tcp.SimpleTcpCluster”/> in apache/conf/server.xml
- We need to add more config in Cluster section. This config has to be added in all the servers which will run in a cluster.
- Attributes
- Manager: It copies sessions from any Tomcat instance to all other Tomcat instances.
- Channel: This element handles all communication between Tomcat instances within a cluster.
- Membership: This element defines the address that all Tomcat instances will use to keep track of each other.
- Sender: This element together with transport element nested inside it is used to configure communication type.
- Receiver: This receiver component, which gets messages from other Tomcat instances’ Sender components. This element could have a configuration for addresses, buffers, thread limits, and more.
- ClusterListener: This element listens to all messages send between Tomcat instances in the cluster and intercepts some of them as needed.
- Add workers.properties at apache/conf/ path with the following content. Please note this file has to be placed in all the Tomcat servers which will run in a cluster.
- We assumed to run only 2 instances of Apache Server so workers.properties contain only 2 entries.
- In apache/conf/server.xml add jvmRoute attr in Engine like below. Please note name has to be same as added in workers.properties
Changes in Application
- All your session attributes must implement java.io.Serializable.
- Make sure your web.xml has the <distributable/> element
Summary
To run session replication in your Tomcat 7.0 container, the following steps should be completed:
- All your session attributes must implement java.io.Serializable
- Uncomment the Cluster element in server.xml
- If you have defined custom cluster valves, make sure you have the ReplicationValve defined as well under the Cluster element in server.xml
- If your Tomcat instances are running on the same machine, make sure the Receiver. port attribute is unique for each instance, in most cases Tomcat is smart enough to resolve this on its own by autodetecting available ports in the range 4000-4100
- Make sure your web.xml has the <distributable/> element
- If you are using mod_jk, make sure that jvmRoute attribute is set at your Engine <Engine name=“Catalina” jvmRoute=”node01″ > and that the jvmRoute attribute value matches your worker name in workers.properties
- Make sure that all nodes have the same time and sync with NTP service!
- Make sure that your load balancer is configured for sticky session mode.
Here is official Documentation for Apache 7 Cluster Configuration
Application used
Sample Screenshots:
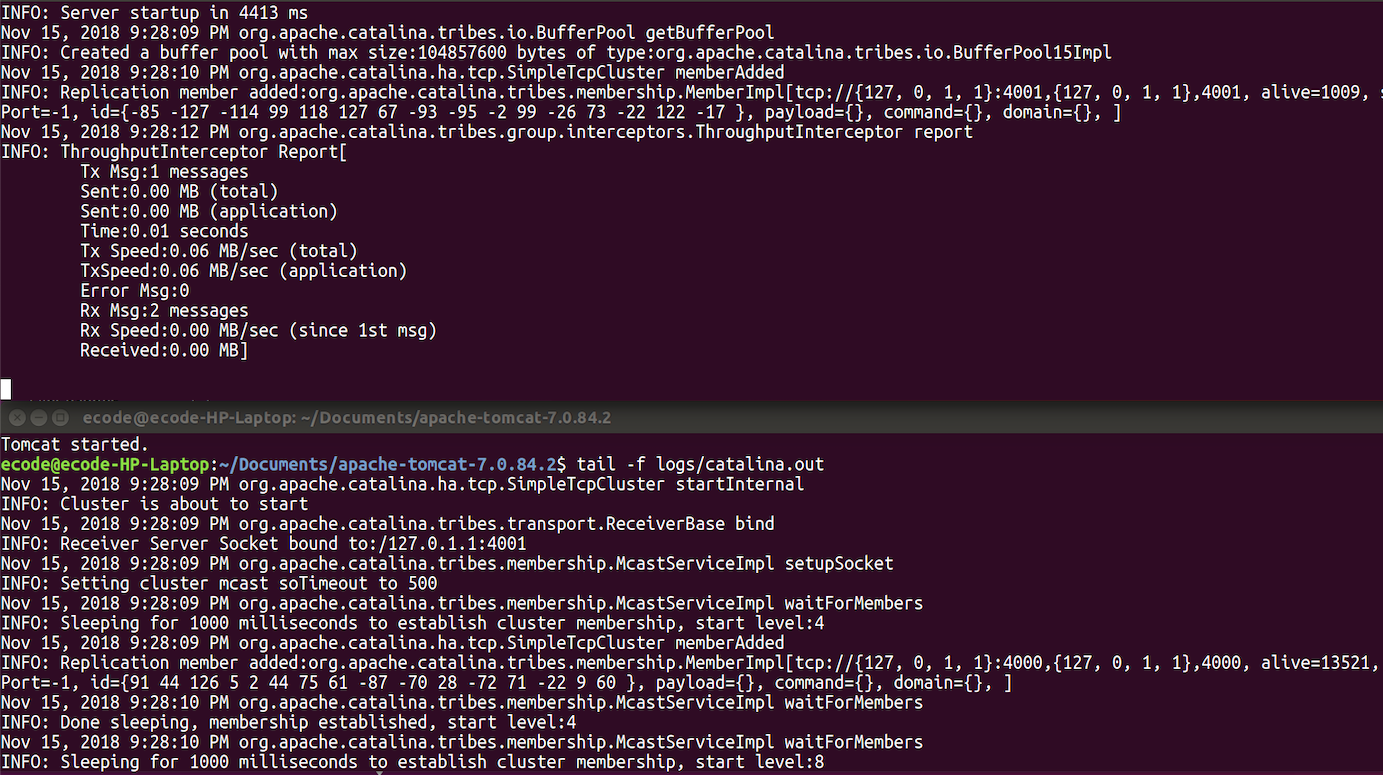
- Below image shows tomcat server’s log when starting Cluster. Notice Replication message.
- Below image shows generated sessionid while running Application in 2 different Tomcat with Session-Id. When One server is Shut Down and we refresh browser we can see Session ID remains same as it was copied over to Other Tomcat as well.

Source Code
You can Download files and Application used in this blog.
0 Comments